DIY Projects by Formica
Discover how simple and fun DIY projects can be with Formica Group.
[Wow-Modal-Windows id=2][Wow-Modal-Windows id=4][Wow-Modal-Windows id=5][Wow-Modal-Windows id=6][Wow-Modal-Windows id=8][Wow-Modal-Windows id=9][Wow-Modal-Windows id=10]


DIY: Formica® Writable Surface Picture Frame
Let your home speak for you. Create a DIY markerboard or chalkboard using Formica® Writable Surfaces.This framed piece of artwork will constantly change and evolve with everyday activity in your space.

DIY Frame Steps
1. Tools and Materials
a. Frame of your choice: Purchase at craft store or online retailers that specialize in frames.
b. Foam board for backing: This will fit in the frame behind the laminate. It should not be thicker than the frame.
c. Formica® Writable Surfaces of your choice.
d. 2-inch wide masking tape
e. Straight edge: Equal or longer than the length of your frame.
f. Permanent marker for layout: Do not use this on the laminate.
g. Utility knife with several extra blades
h. Jig saw or circular saw to cut your laminate
i. Down cut jig saw blades: Most tool retailers stock these.
j. A large work area so the frame can lay flat and have full support. The area should be clean with somewhere to cut.
2. With the frame fully assembled, measure the frame opening. Leave about 1/8” on each side to slide material in and out.
3. Transfer measurement from the frame to the laminate and foam board to prepare for cutting.
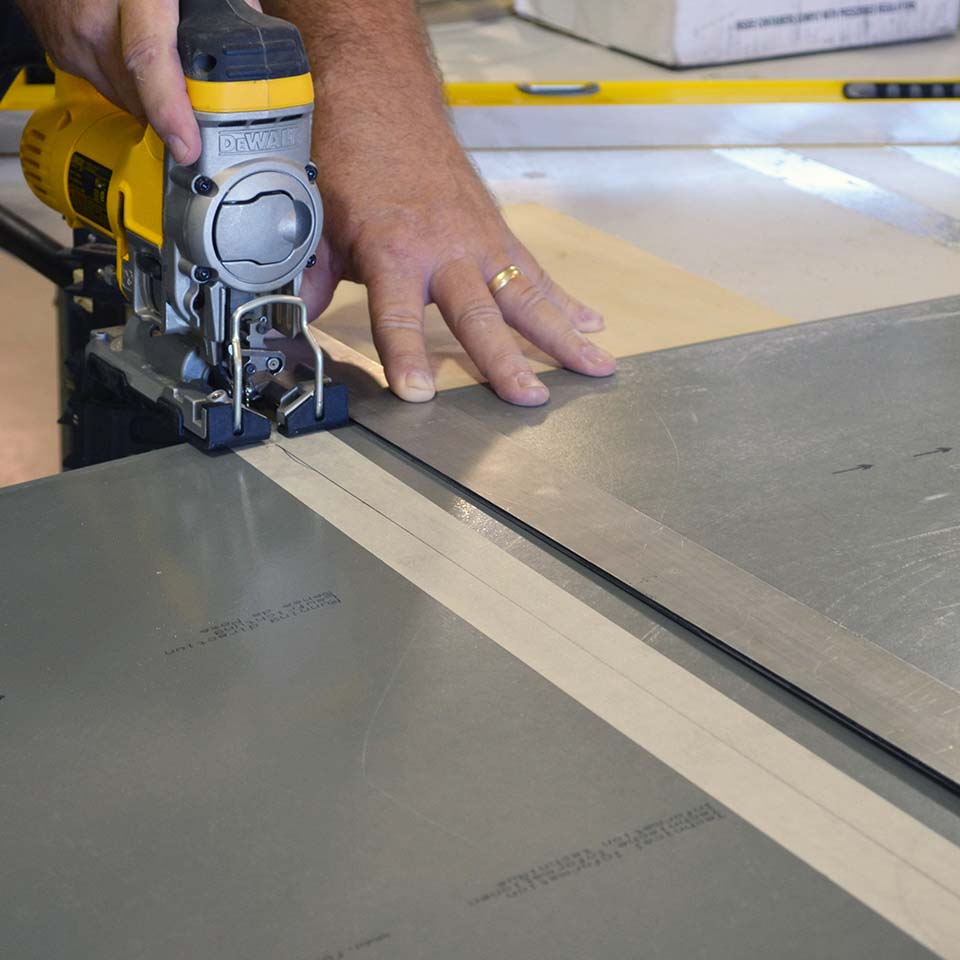
4. Tape the cut lines on the laminate. This will reduce chipping on the laminate surface.
5. Cut the laminate to the size measured with jig saw or circular saw.
6. Cut the foam board to the size measured with utility knife.
7. Flip the frame upside down and remove the end of frame.
8. Slide in the foam board first, then the laminate in front of it.
9. Reassemble the frame adding in supports to keep the foam board and laminate firmly against one another with no give in the frame.
10. Secure frame end.
11. Hang frame.
Extra Tip:
Tape on the bottom of the saw will help control scratches if the base of the saw is rough or scratched.
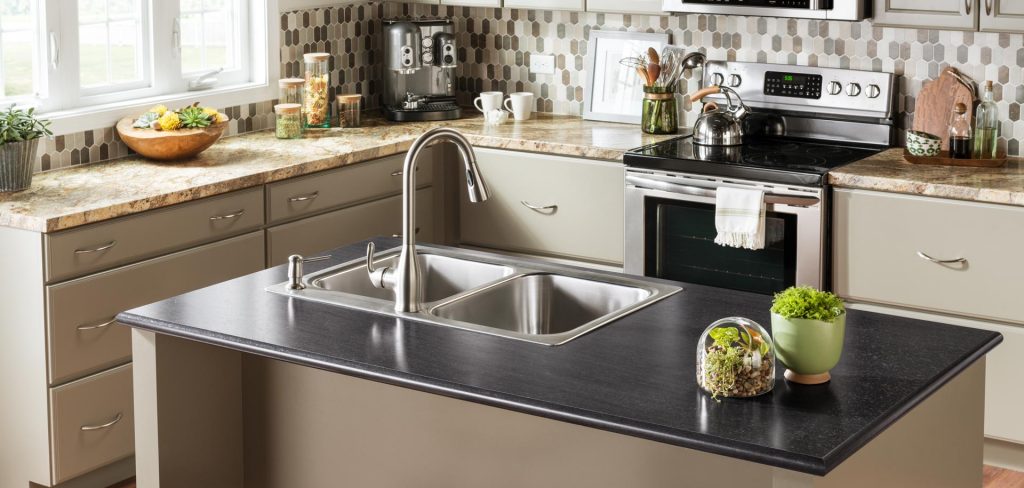
Proper Sink Installation for Formica® Laminates
Remodeling can be as stressful as it is rewarding. Let Formica® Brand guide your next kitchen or bath project with these simple steps to correctly install a sink in your countertop.
Formica® Laminate is a durable and functional surface suitable for any room of the home. Formica® Laminate, when installed properly, can be used in the kitchen and bathroom around sinks without any damage to the laminate. The step-by-step instructions below outline the proper tools and procedure to install a drop in (also known as top mount) sink.
Step 1: Obtain the proper tools
- Drill
- Drill bit
- Jig Saw
- Screwdrivers
- Waterproof Caulk and Caulk Gun
- Tape Measure
- Ruler
- Pencil
- Safety Glasses
- Gloves
Step 2: Measure and cut the hole for the sink
- Place the sink upside-down on the counter top where it is to be installed
- Allow clearance on all sides of the sink
- Trace around the outside of the sink with a pencil
- Depending on the type of sink, determine where the cut line is inside of the traced outline
- Follow directions from the sink manufacturer
- Drill a hole on each corner of the cut lines
- Using a jigsaw, cut straight down the cut lines
Step 3: The most important- gluing and attaching the sink
- Apply a heavy bead of waterproof caulk along the entire edge of the hole for the sink
- Drop in the sink and apply even pressure to each side
- Follow the instructions for sink installation and attachments from the sink manufacturer
- Remove any excess caulk
Proper sink installation is important to keep your laminate looking great. Also be sure the right type of glue is used for applying laminate to MDF to make a countertop. A waterproof PVA or Contact Adhesive is recommended to keep edges sealed tight.
Source : Formica.com